
MISpay Widget Setup
This guide helps you show the MISpay widget on your product pages in Shopify.

Step 1: Add MISpay Script
-
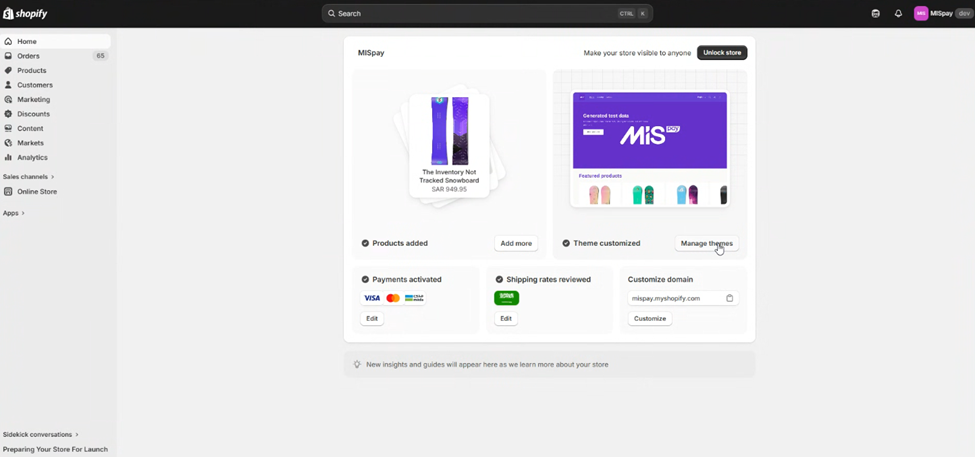
Go to your Shopify Admin → Home → Manage Theme
-
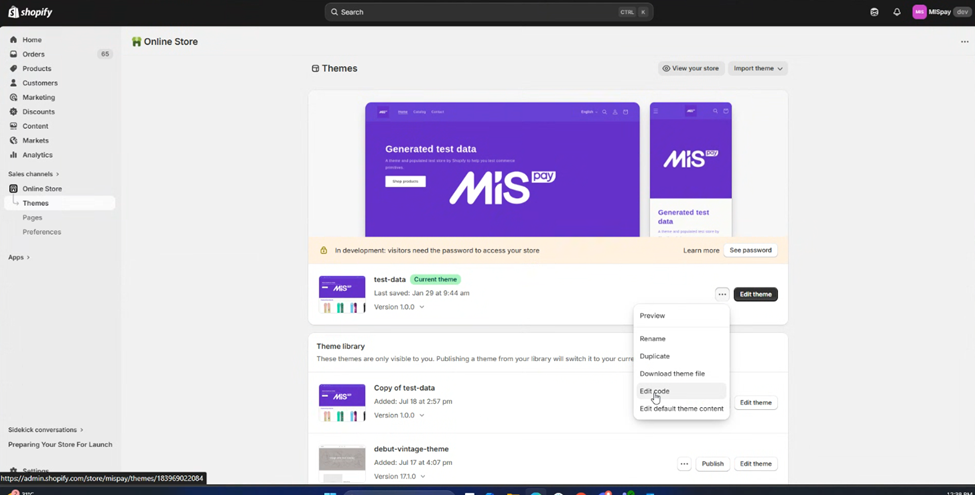
Click the three dots (•••) → Edit code
-
From Left menu: Open: Layout → theme.liquid

-
Find this line:
</head>
-
Paste the below line just before it:
<script defer src="https://widget.mispay.co/v1/sdk.js?authorize=YOUR_WIDGET_KEY"></script>👉 Replace YOUR_WIDGET_KEY with the key provided by MISpay
-
Click Save
Step 2: Create Widget File
-
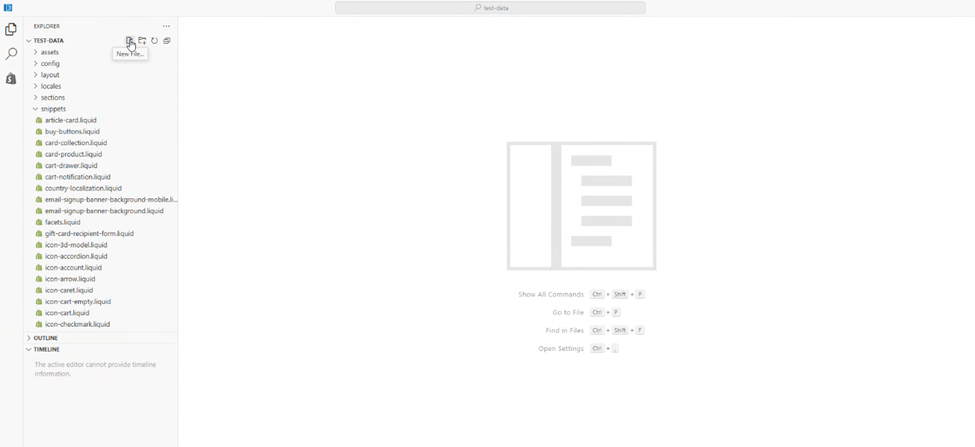
In the same Edit code page >> Click Snippets → Add a new snippet
-
Name it:
mispaywidget.liquid -
Paste the below code inside:
{%- assign current_variant = product.selected_or_first_available_variant -%}

{% if current_variant and current_variant.price %}
  <mispay-widget
    amount="{{ current_variant.price | divided_by: 100.0 }}"
    lang="{{ shop.locale | default: 'en' }}">
  </mispay-widget>
{% endif %}
-
Click Save
Step 3: Show Widget on Product Page
-
Go back to Shopify Admin
-
Click Online Store → Themes → Edit Theme
-
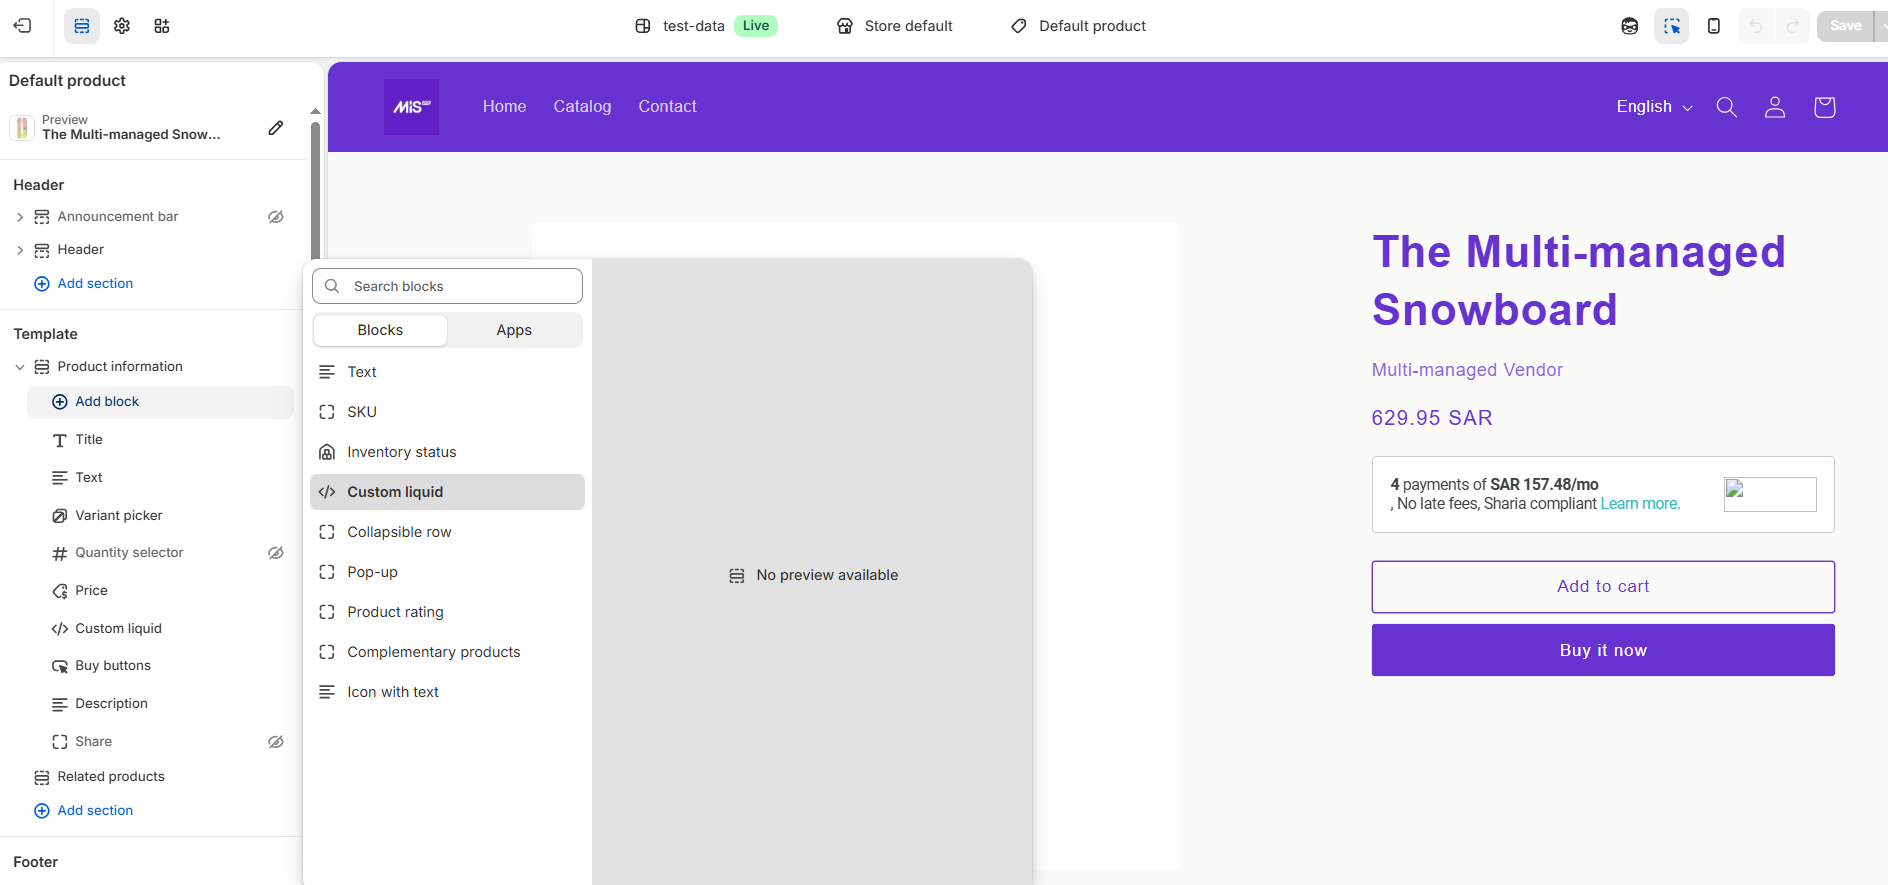
Open Any Product Page → In the left panel → Template → Product Information → Add Block - Custom Liquid
-
Insert the following code in the box on the right:
{%render'mispaywidget'%}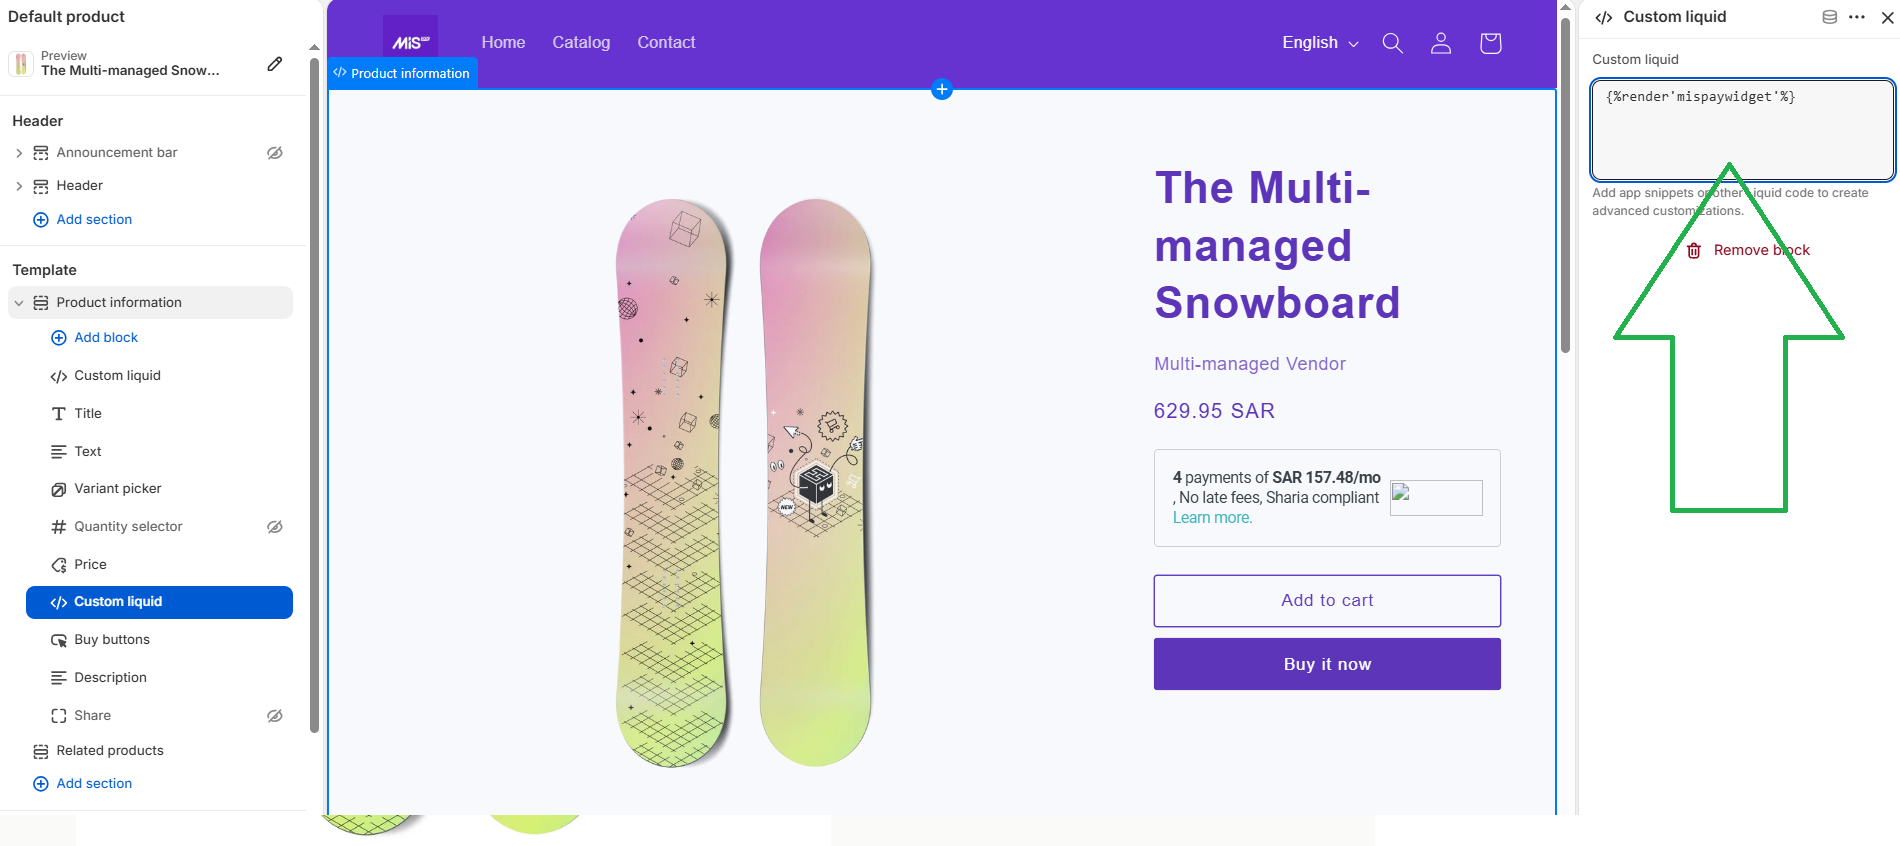
✅ Done!
Now go to any product page on your website —
you should see the MISpay widget showing payment options 🎉
Important Tips
- If nothing appears:
- Make sure you added the script correctly
- Make sure you replaced the authorization key
- Prices will automatically show correctly — no need to adjust anything
💡 That’s It
No coding experience needed — just copy & paste in the right places.
Updated 4 months ago